Installing and activating the plugin (step by step)
Step 1: Add a new plugin
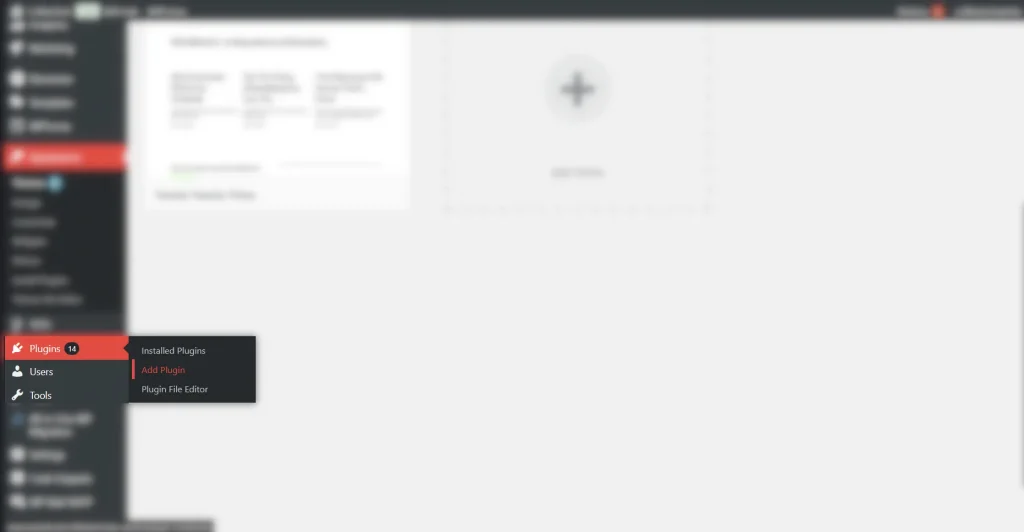
In the left-hand menu of your WordPress admin dashboard, hover over Plugins, then click Add Plugin.
Step 2: Open the upload option
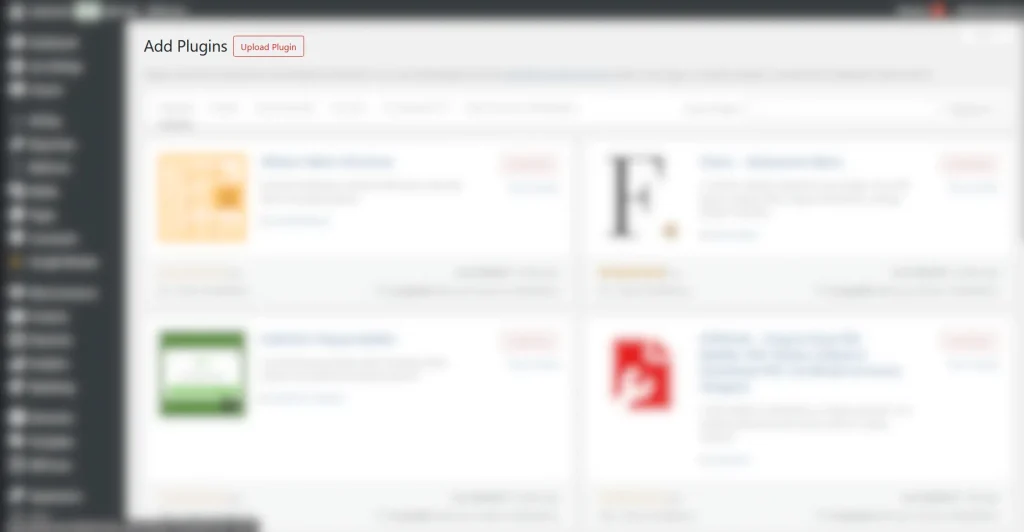
On the Add Plugins page, click the Upload Plugin button at the top of the page, next to the main heading.
Step 3: Select the ZIP file
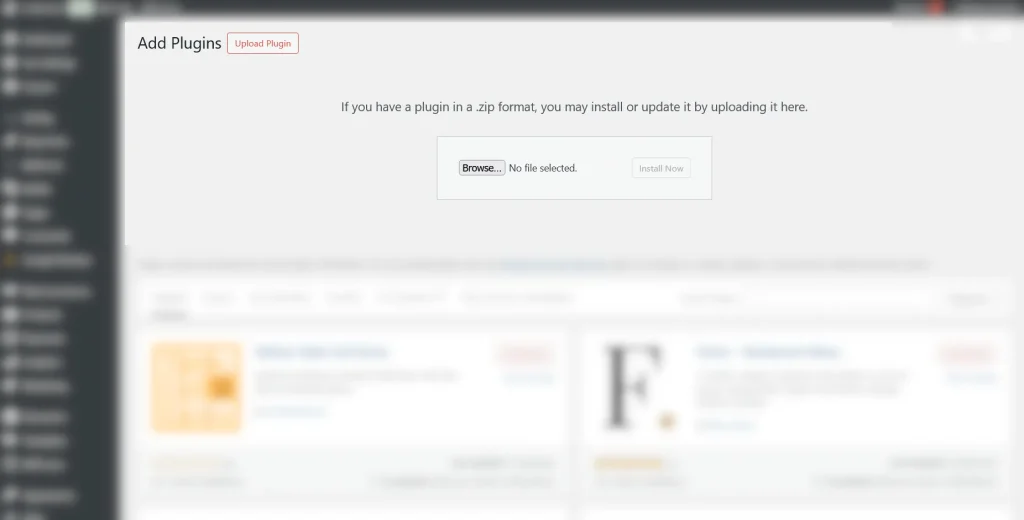
In the grey box that appears, click the Browse… button, then locate the plugin file in .zip format that you downloaded to your computer.
Step 4: Start the installation
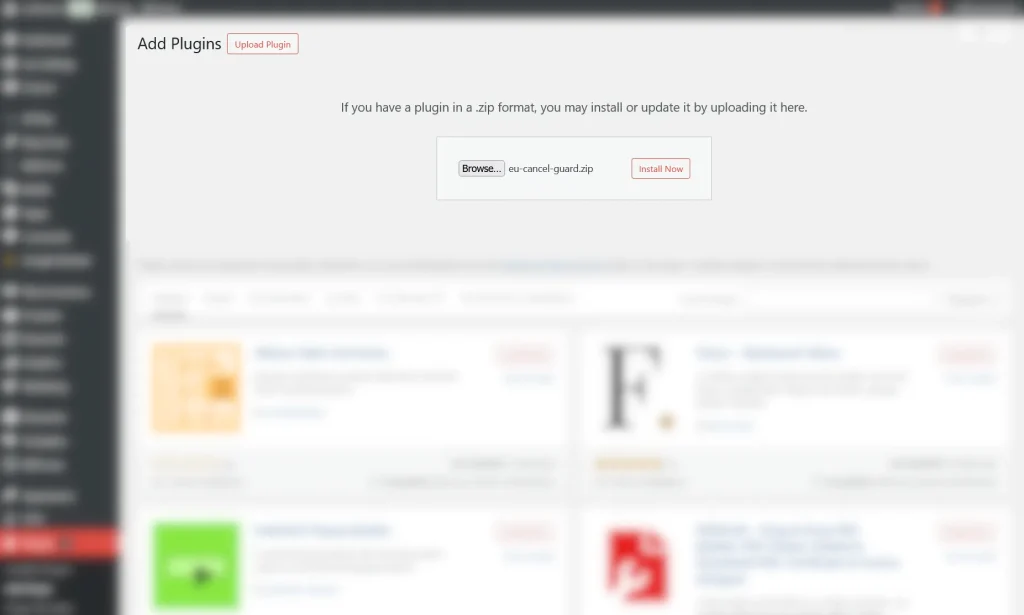
After confirming that the correct filename appears next to the button (e.g. eu-cancel-guard.zip), click the Install Now button.
Step 5: Activate the plugin
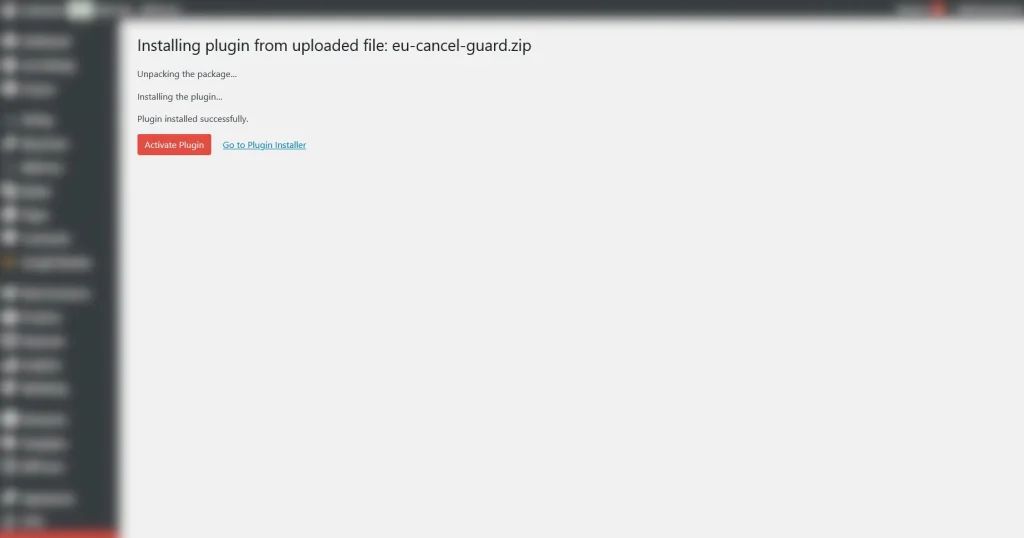
Wait for the system to unpack the package and display the Plugin installed successfully. message. Then click the red Activate Plugin button.
Step 6: Enter and activate the licence key
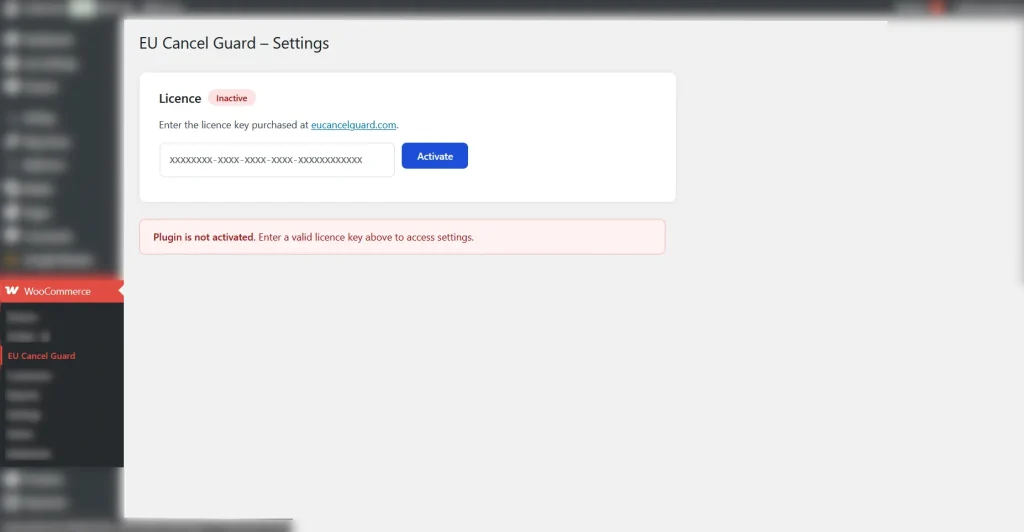
The system will automatically redirect you to the WooCommerce → EU Cancel Guard menu. In the Licence panel you will see the status showing as Inactive.
Paste the purchased licence key into the XXXXXXXX-XXXX-XXXX-XXXX-XXXXXXXXXXXX text field.
Click the blue Activate button.
After successful verification, the red warning message disappears, the licence status changes to active, and all plugin settings become available.
Voilà! We’re all set.
Once the licence key has been successfully activated, the plugin is fully installed and the withdrawal form goes live in your store.